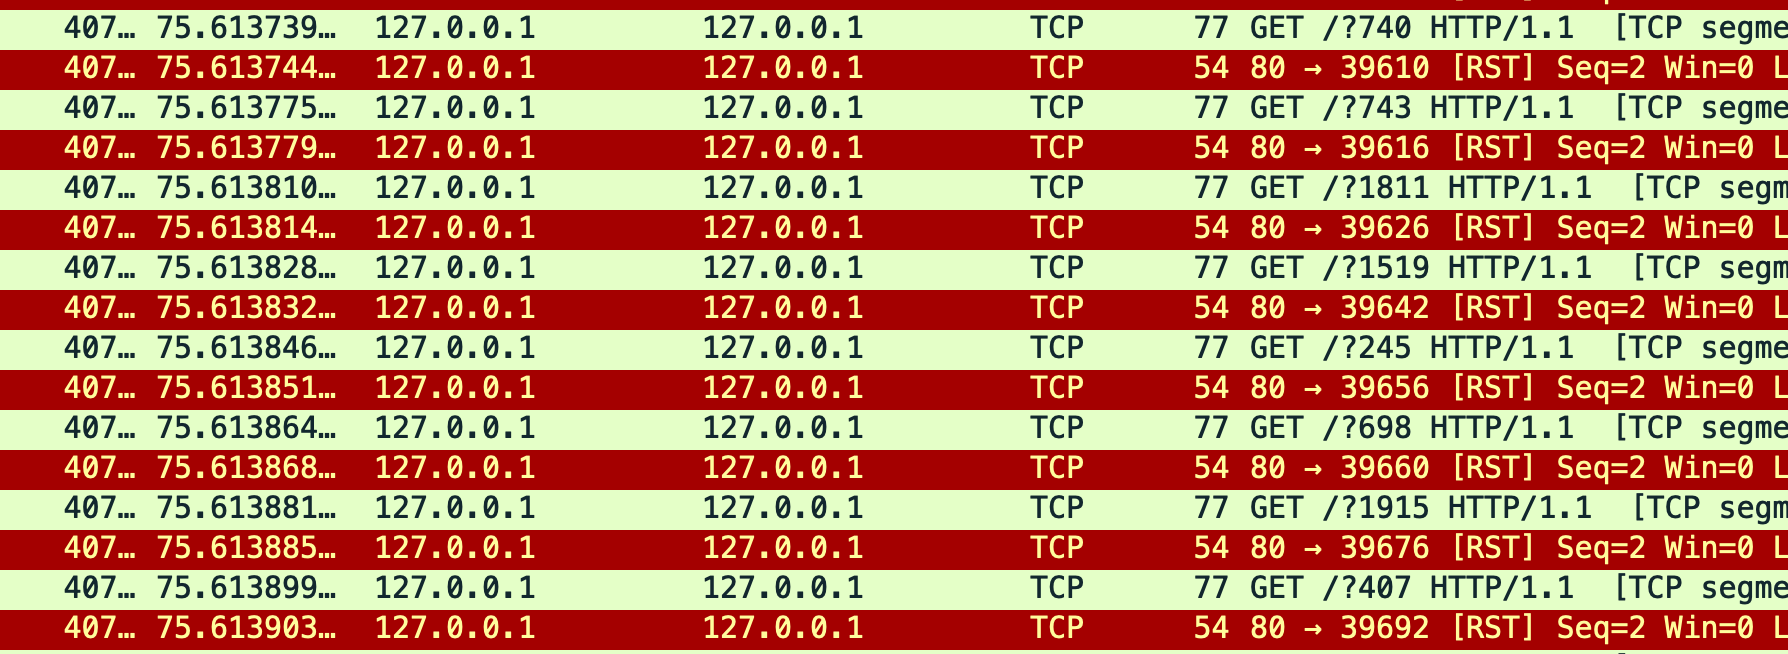
Context
I will set up a proxy server which will allow me to look at “encrypted” data from a secure website of my choice. I will also get a sense of what a DoS (Denial of Service) attack looks like during the project and what I can do to both detect and respond to one.
DoS attacks – specifically DDoS (Distributed Denial of Service) attacks – have proven to be big problems for companies like Github, AWS, and Yahoo! over the last couple of years. This makes detecting and responding to one crucial in today’s world of ever-progressing technology.
Core Concepts
- Configure DoS mitigation rules
- Analyze
.pcapfiles to determine which server is vulnerable/prepared to mitigate DoS attacks
Analysis Technique
Systems that do not allow for a large volume of connections to happen concurrently are especially vulnerable to this type of attack.
Tool Configuration
- NGINX
- Nginx Amplify: application to visualize connections and requests to the local server on in the VM
- Slowloris
- Slowloris tries to keep many connections to the target web server open and hold them open as long as possible.
- Linux
- Establish connection to the Virtual Machine. My preferred method is through SSH.
- After creating a NGINX amplify account, I logged into the server to start the process of everything with the command:
sudo systemctl start nginx - I then began the attack for the purpose of system monitoring pre-mititgation:
slowloris 127.0.0.1 - Analysis Pt. 1
This involved looking into what data the network traffic was showing 15 minutes after installation. Nginx Amplify inherently takes time to to populate with data from the slowloris attack. - Implement DoS Mitigation Rules
Slowing the connection can prevent these attacks by making it more difficult for attackers to overwhelm the target server with a flood of requests, as the reduced bandwidth limits their effectiveness in executing a successful DoS or DDoS attack.
Step 0: Log into the file with the mitigation rules with the command:/etc/nginx/conf.d/default.conf
Step 1: Implement
Step 2: Save with the command:wq!
Step 3: Kill the process with the command:sudo service apache2 stop
Step 4: Thesudo systemctl start nginxandslowloris 127.0.0.1 - Analysis Pt. 2
I logged in to the Nginx Amplify portal to see if my rules had been properly implemented. These were the results:
I did notice the connection change dramatically after giving the system some time to collect data. These visualizations showcase that the rules have been successfully implemented.
Healthy Network Activity vs Unhealthy Network Activity


